
1. Book site to find inexpensive &/or out of print quilting books.
2. June Tailor Shape Cut Ruler demo.
3. Quilt in progress storage idea.
4. Making perfect triangle-squares using Triangle Paper.
5. Quick way to create the Twin Sisters Block.
6. Disappearing Nine-Patch Block.
7. Twirled Seam Allowances.
8. Mirror Manipulation tool works wonderfully on border prints.
1. Dawn showed some quilting books that she had purchased on the used & antiquarian book sellers site abebooks.com. This site describes the books condition but doesn't provide information on contents. Content information can be obtained via other sites that sell books. With careful scanning of the abebooks.com site you can get fabulous books for ridiculously low prices. One of Dawn's books only cost $1.00!
Thank you Dawn, for telling us about this used book web site.
2. Helen demonstrated her June Tailor Shape Cut Ruler. She cut 2 1/2" strips so quickly it made our heads spin. 5" squares were cut perfectly too. Cutting with this ruler would really inspire confidence.
 |
| a. For a full demonstration go to Junetailor.com/shapecutvideo.htm. The ruler cuts 5 different shapes, strips, squares, diamonds, triangles & hexagons. |
 |
| b. Helen Wilde demonstrating June Tailor Shape Cut Ruler. |
 |
| a. Helen Wilde showing us the fabric, etc., for her next project tucked into the Scrapbooking Case. |
 |
| b. Helen Wilde says don't forget to put a copy of your pattern into the case. |
4. Triangle Paper - specific sizes are available. Be sure to purchase the correct size for your project. You can purchase these from at least one Quilt Store in this area. The packaging says it all: Layer, sew, cut and tear (the paper away).
 |
| a. Helen Wilde loves using these papers. Also available in rolls. |
Place 2 fabrics, right sides together, place the Triangle paper over the fabric and pin. Use the paper's dotted-lines to stitch and the solid lines to cut apart. Stitching comes first.
 |
| b. Helen Wilde pointing out the stitch lines and cut lines. |
 |
| c. Good look at the Triangle paper. |
 |
| d. Helen Wilde cutting her sewn triangle-squares. |
 |
| e. Helen Wilde shows the perfect triangle-squares. |
June Taylor Shape Cut Ruler.
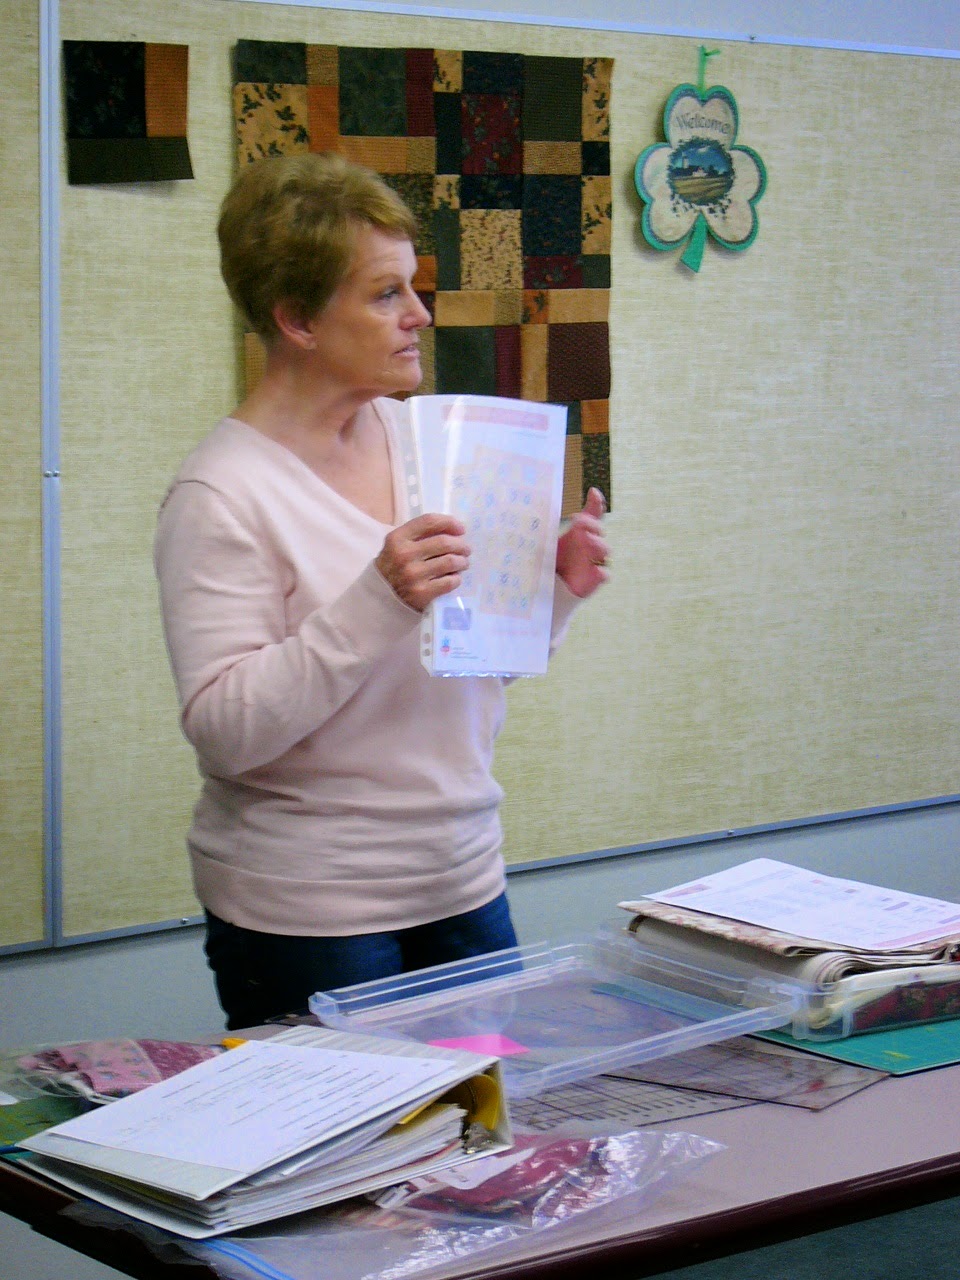
5. Heidi demonstrated how to make quick Twin Sisters Blocks. She suggested that if you require further directions you can watch an UTube Video to follow along with at home. (I'll try to find the url asap and update this entry. Dawn)
 |
| a. Heidi Sharp, President of the Guild, demonstrates the first step in making Twin Sister Blocks. |
Stitch 2 - 2 1/2" strips together lengthwise. As shown in photo b., the contrast between these two fabrics is really insufficient. An adequate contrast is shown in the block in photo d. Larger blocks can be made by increasing the width of the strips.
 |
| b. Strips of insufficient colour contrast. |
 |
| c. Heidi Sharp is preparing to cut the strips into squares by diagonally folding the bottom left corner across to the top edge. She uses the edge of the folded piece to cut. |
The squares are created by cutting 2 squares diagonally and reassembling in the pattern shown in photo d. This square is made by two fabrics with good contrast. Sewn together this is the Twin Sisters Block.
 |
| Twin Sisters Block |
6. Corrine showed the guild members how to make a Disappearing Nine Patch Block and what the block looks like in a rich, country colour-way and a pastel colour-way. |
| a. Corrine Allred holds a standard Nine-Patch Block. This is the first step. |
Next, the 9-patch block is cut vertically and horizontally through the middle of the Nine-Patch Block.
 |
| b. This is 1/4 of the twice-cut Nine-Patch Block. |
These smaller blocks are put together in whatever arrangement you choose. Typically the quilt will look like the arrangement shown in the baby quilt and the country style quilt top in photos c & d below. Colour distribution is the main consideration with these quilts.
 |
| c. Corrine Allred holding a baby quilt made with Disappearing Nine Patch Blocks. |
 |
| d. Corrine Allred holds the beginnings of a country-style Disappearing Nine Patch Block quilt top. |
Thank you, Corrine, for demonstrating the construction of a Disappearing Nine Patch Block and bringing in your samples.
7. Donna showed each member what a twirled center of a multi-seamed block looks and feels like compared to a standard multi-seamed block where many seams intersect.
 |
| a. Donna Prince showing the twirled center seams. |
 |
| b. Notice the thickness of the seam allowances in the middle of the block. |
 |
| c. Here the seam allowance has been twirled. Donna Prince's thumb is holding the seam allowance that should be repressed in the opposite direction. |
8. Sheila demonstrated how to check border print fabrics for 6 or 8 pieced blocks. It's all about design repeats, two dollar store mirrors, a bit of duct tape and a triangle ruler.
 |
| a. Sheila Kimberley, Secretary of our Guild, shows how to visually check whether or not you will like the image created by cutting and sewing together repeated triangles from that particular spot on the fabric. |
The most popular triangles used are 60 or 45 degrees. By positioning either triangle between the two mirrors (and snugging the mirrors against either side of the triangle) you will see exactly what a circle created by these triangles will look like.
When you are ready to purchase your fabric it is essential to purchase enough fabric to provide you with the required number of repeats for each of the triangles. Often these blocks will call for a straight cut across the widest side of each triangle. When you do this the circle is changed into hexagons, octagons, etc. The shape produced depends on the number of triangles the circle has been divided into. (Must be equal divisions.) Photos b & c show a few more possibilities. Look at the fabric reflected in the mirrors.
 |
| b. Sorry, this photo wasn't very clear. You can still see via the mirror, the pattern created. |
 |
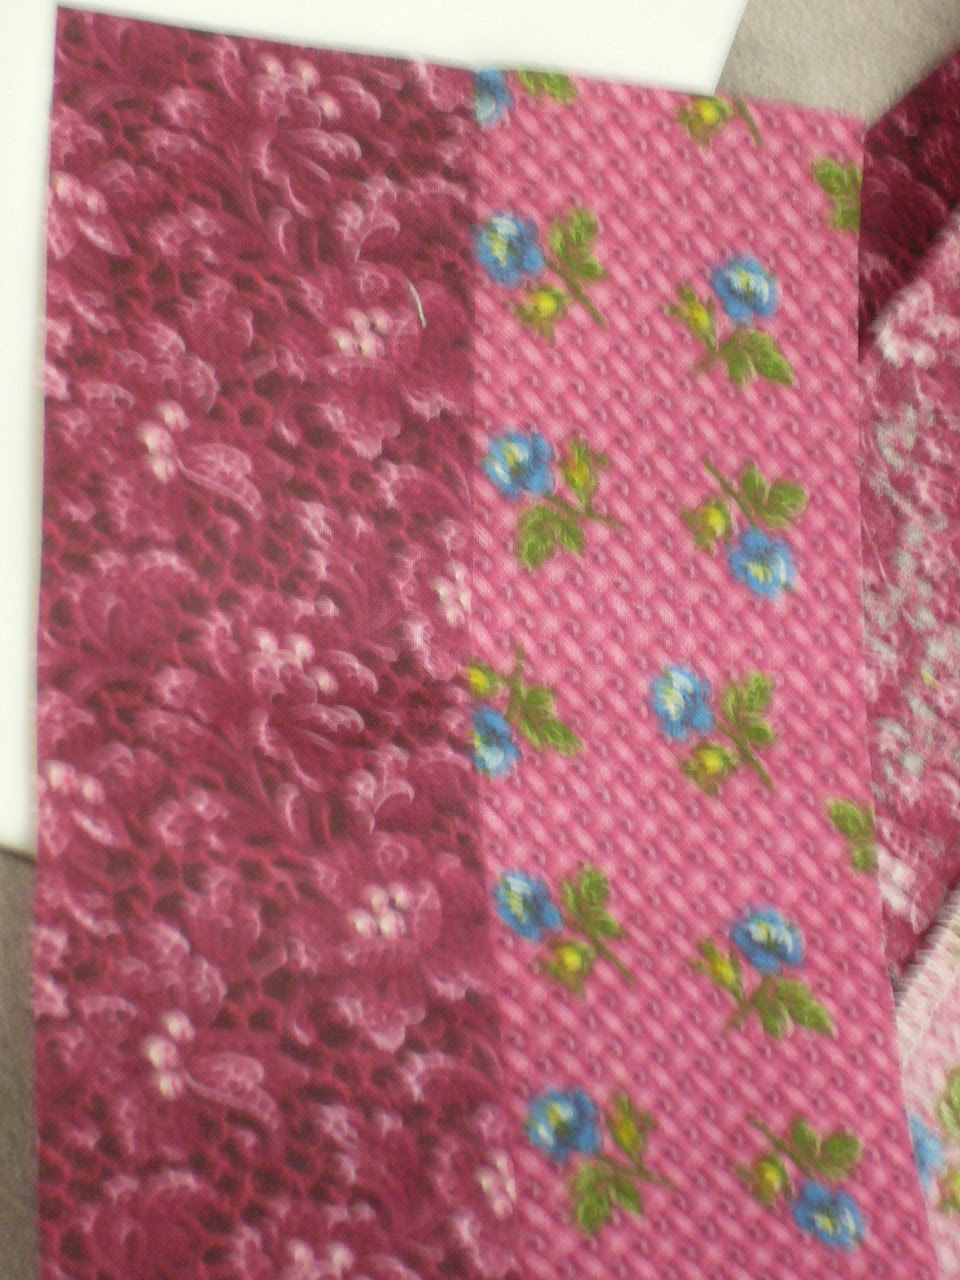
| c. Here's another example using a different border fabric. Sheila actually made a project using this very fabric. See below. |
 |
| d. Doesn't this table topper look great?! |
 |
| e. This pattern is from Veronica's Sewing Supplies in Saskatchewan. |
Thank you, Sheila, for demonstrating the mirror technique. It's a great, portable solution for discovering the perfect fabric for our projects.
No comments:
Post a Comment